Understanding the Converting VHS to USB Process
What is Converting VHS to USB?
The process of converting vhs to usb involves transferring video content stored on VHS tapes to a USB drive, allowing for easier access and storage of memories. This conversion is essential as VHS tapes degrade over time and can be prone to losses or damages that impact their playability. By converting to digital form, your cherished memories become more durable and accessible.
Benefits of Converting VHS to USB
There are numerous benefits associated with converting VHS tapes to USB:
- Preservation: Digital files do not deteriorate like physical tapes, ensuring that your memories are preserved for years to come.
- Convenience: USB drives are easy to store and can be connected to various devices for instant access.
- Sharing Options: Digital files can be shared online or transferred easily to friends and family.
- Editing Capabilities: Digital formats enable easy editing, allowing you to cut, splice, or enhance your footage.
Necessary Equipment for Conversion
To successfully convert your VHS to USB, you will need specific equipment:
- VCR: A working VHS player is essential for playback.
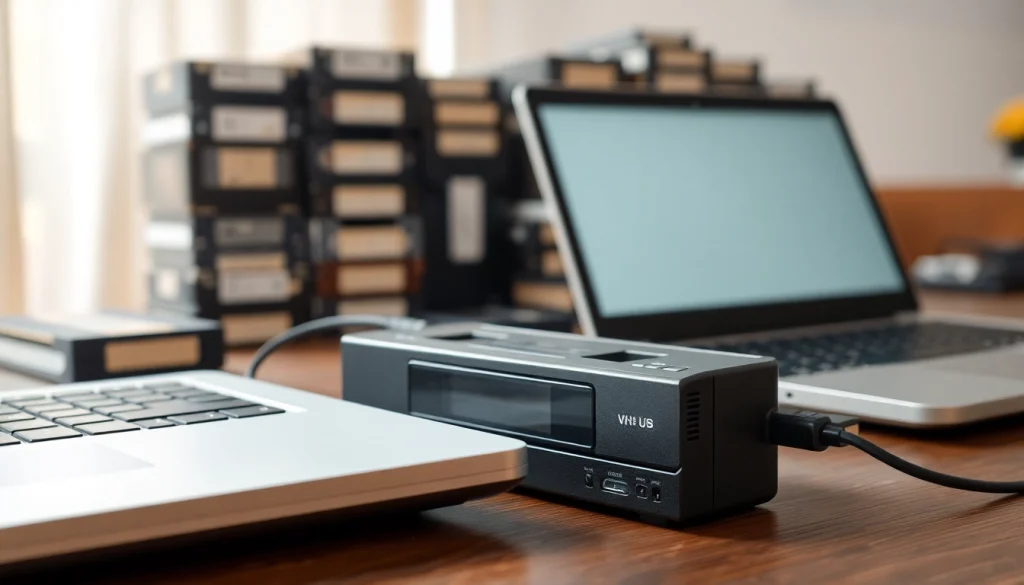
- Video Capture Device: This device connects your VCR to a computer, capturing the video signal.
- Computer with Video Editing Software: This will be used to finalize and save your digital files.
- USB Drive: A storage medium for your digitized video files.
Step-by-Step Guide to Converting VHS to USB
Preparing Your VHS Tapes
Before starting the conversion, ensure that your tapes are in good condition. Examine each tape for visible damage and perform a gentle cleaning of your VCR’s heads using a cleaning tape if necessary. If you notice any mould or dirt on the tapes, consider cleaning them carefully with a soft cloth. It’s crucial to maximize the quality of playback for the best conversion outcome.
Setting Up Your Equipment
Once your tapes are prepared, follow these steps to set up your equipment:
- Connect your VCR to the video capture device using the appropriate cables (typically RCA cables).
- Plug the capture device into your computer’s USB port.
- Install any necessary software required for the capture device as per the manufacturer’s instructions.
Executing the Conversion Process
With everything set up, you can begin the conversion:
- Open the video capture software on your computer.
- Load the VHS tape into the VCR and press play.
- Start the capture software to record the playback. Monitor the process to ensure everything is functioning correctly.
- Once the tape has finished playing, stop the recording and save your video file to the USB drive.
Common Issues in Converting VHS to USB and Solutions
Audio and Video Sync Problems
One of the common issues during conversion is audio and video not syncing properly. This can occur due to either the capture device’s performance or the software settings. To resolve this, check if there’s an audio delay option within your software, and adjust it accordingly. If issues persist, consider using a different capture device.
Quality Loss During Conversion
Some users may notice a loss of quality post-conversion. To minimize this, ensure that you’re using high-quality capture devices and settings. Adjust the capture resolution within the software to match or exceed the original quality of your tapes. Additionally, avoid capturing through low-quality cables.
Dealing with Damaged Tapes
In cases where tapes are damaged, careful handling is paramount. If you’re confronted with issues like tape sticking or tearing, use the VCR’s manual rewind and forward features slowly to assess and potentially salvage the tape. If the damage is severe, consider sending it to a professional service for recovery.
Best Practices for Converting VHS to USB
How to Ensure Quality Results
Ensuring high-quality results involves a combination of the right equipment and practices. Always use good quality cables and video capture devices, ensure the VCR heads are clean, and capture the video in high resolution. Testing a small segment before proceeding with the full tape can help identify potential issues.
Storage Options After Conversion
After conversion, consider your storage options carefully. USB drives are compact but may pose risks of loss. Cloud storage solutions provide an excellent alternative, offering safer long-term options and easy accessibility from any device. Additionally, consider keeping backups on multiple drives for added redundancy.
Archiving Your Digital Files Safely
Once files are converted, organizing and archiving them is crucial for future access. Create a structured folder system on your computer or external drive that categorizes videos by date, events, or themes. Use clear and descriptive file names, and ensure that regular backups are made to prevent data loss.
Frequently Asked Questions about Converting VHS to USB
What equipment do I need for the conversion?
You need a VCR, a video capture device, a computer with video editing software, and a USB drive for storage.
Can I convert VHS to USB without a computer?
While it’s possible to use standalone VHS to USB converters, using a computer is highly recommended for more control and better quality.
How long does the conversion process take?
The conversion time depends on the length of the VHS tape. Generally, it takes real-time, so a 2-hour tape will take about 2 hours to convert.
What formats can I convert VHS to using USB?
Common formats include MP4, AVI, and MPEG. The best choice depends on your intended use, as each offers different compression and quality characteristics.
How do I ensure the best quality during conversion?
Use high-quality peripherals, ensure VCR cleanliness, adjust capture settings for optimal resolution, and monitor the conversion process closely.